
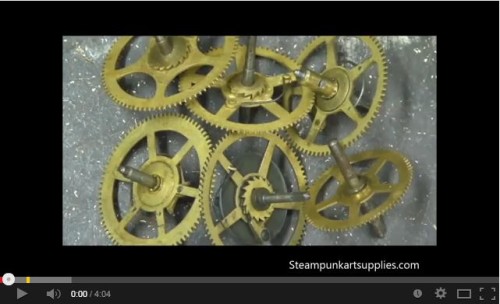
Steampunk Tutorials | How to remove pinions for large brass gears
Steampunk tutorials. How to remove those stubborn pinions from large brass gears for Steampunk projects. In this video I show my methods for extraction. There are pins to be removed or ground down to allow the pinion to be punched through the brass gear. This can be done with as few tools as a hammer, center punch and a file. I hope this and my other Steampunk tutorials helps with you Steampunk art projects. May you create a masterpiece! If you would like some Steampunk supplies without the work you can buy them at my Etsy shop.
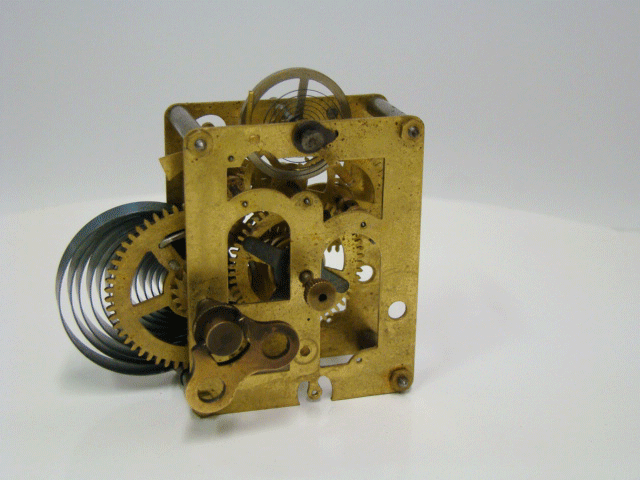
steampunk tutorials clock movement
How to remove the pinion gears from smaller brass gears | Steampunk Tutorials.
In this Steampunk tutorial video I show you how to remove the pinion gear from vintage brass gears. This method is very easy and safe (use your safe glasses). It allows you to remove the unwanted parts without damaging the brass portion of the gear. It will allow you to keep more usable steampunk supplies.
The tools needed
As shown in the Steampunk tutorial video you’ll need the following tools.
A small hammer (preferably with a smooth striking face)
A nail set or punches. It’s nice to have a set of punches that vary in size.
A set of deep sockets or some old tubular hardware.
A solid work bench.
The pinion removal method
The secret to removing the pinion gears is to fully support the brass portion of the gear. I typically use a socket or tube that has a large enough hole to receive the pinion gear but small enough to support the brass as close to the pinion as possible.
Typically there is only one direction that the pinion gear can be driven out. You can determine the direction by closely inspecting the assembly. The larger part of the pinion should be driven away from the brass portion of the gear.
Some gears have a kind of a grommet that is left behind after the pinion gears is removed. This grommet can be removed if you prefer it to be. These grommets have a small diameter on one side that is pushed through the gear. The other side is larger acts as a stop. The smaller side is typically enlarged with a peening method. This secures the grommet tightly in the gears.
As with the pinion gear you need to inspect and drive the larger side of the grommet away from the gear. Use the same socket to prevent the brass gears from distorting.
Gear flattening
If you inadvertently bend your gear you can usually flatten it on a hard flat surface. It’s important to use a smooth surface as possible. The striking face of the hammer should be very smooth also.
Try to keep the striking face of the hammer parallel with the gear and use a light deliberate strike. It’s very easy to dent the surface of your gears so be careful.
I hope you can use this information to create awesome and inspiring new steampunk projects. If you want to share what you have made or any ideas or feedback please leave a comment. Or become fan on our Facebook page.
http://www.facebook.com/Steampunkartsupplies
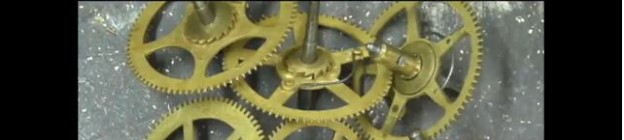
Steampunk Tutorials | How to safely take apart a brass clock movement for Steampunk art projects
In this video my steampunk tutorial goes over how to safely disassemble old spring driven clock movements. There can be a great deal of stored energy in the springs and if you’re not careful you may end up making a trip to the ER.
The type of movement that I disassemble in the video has springs that are not in a barrel. They are open to the environment.
I show you the two springs that are present and their purpose in the clock. I also discuss the way to safely remove the spring tension without damaging the clock parts or yourself. Remember to always wear your steampunk safety goggles and gloves.
In the Steampunk tutorials video you’ll see that you can allow the movement to unwind with your hands clear from danger. I show you the parts that you remove or modify to allow the gears to spin freely.
I also show how to remove the tension with a winding key. This is a slow process and takes time.
I hope that you use this information to avoid injury and get lots of parts for you steampunk art projects.
steampunk tutorials video image